


.
martes, septiembre 8, 2026 🍇 🍷 🎪
spot_img
spot_img

How to Plan Campaign Photos Before Spending on a Full Shoot

A new campaign often begins with a vague request: “We need fresh photos for the website and social media.” That sounds simple until someone has to choose the location, props, lighting, wardrobe, product arrangement, image orientation, and number of shots. If those decisions are left until the day of the shoot, the team can spend paid production time debating ideas instead of capturing useful material. The result may look polished but still fail to provide the square, vertical, horizontal, detail, and lifestyle images the campaign actually needs.

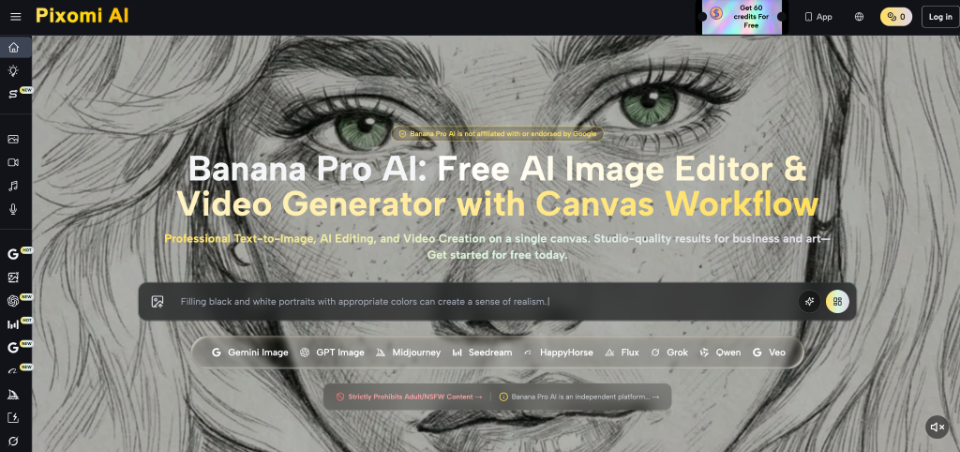
A better approach is to separate visual planning from final production. Before booking a location or setting up lights, define what each image must communicate and test whether the proposed scene supports that purpose. Mood boards can be too broad because their references come from different products and budgets. When an existing photo needs to be explored in another setting, Nano Banana Pro can be one route for producing reference-based variations. Treat those images as planning material, then judge the direction against the product, location, and channel requirements.
How to Plan Campaign Photos Before Spending on a Full Shoot

Start With the Decision the Image Supports

Every campaign image should help the viewer understand or decide something. A furniture retailer may need one image to show proportions, another to suggest how a piece fits into a room, and a third to announce a seasonal offer. A café might need a menu image, an atmosphere image, and a vertical social post that makes a new drink recognizable immediately. Treating all of these as “brand photos” hides the different jobs they need to perform.

Write a short purpose beside every planned image. Useful statements are specific: “show the texture of the material,” “make the entrance recognizable,” or “leave space for a promotional headline.” If a planned shot cannot be connected to a clear purpose, remove it or redefine it. This prevents the shot list from growing simply because a pose, prop, or location looks attractive.


Turn One Campaign Idea Into a Shot Plan

Once the communication tasks are clear, convert the campaign idea into a production plan. The plan does not need to predict every photograph, but it should settle the choices that are expensive or difficult to change on the day.

  1. Define the Visual Anchor

Choose one element that gives the campaign a recognizable center. It might be the product itself, a person, a particular material, or a location strongly connected to the business. Then decide how that anchor should appear across the set. If the campaign revolves around a new chair collection, for example, the chairs should remain visually dominant even when the setting changes. If background objects repeatedly attract more attention, the scene is working against the campaign.

  1. Map the Required Formats

List where the images will actually appear before deciding the framing. A website banner needs horizontal space, a social story needs vertical composition, and a product card may need a tighter square crop. Mark each required format beside the shot rather than assuming one photograph can be cropped into everything later. Important faces, products, signs, and props should remain inside a safe central area when several crops are expected.

  1. Limit the Scene Variables

Decide which elements may change and which should remain fixed. One campaign might keep the same product, color palette, and lighting direction while changing the room and supporting props. Another might keep the location fixed while changing people and activities. Altering background, lighting, styling, camera angle, and color treatment at the same time makes it difficult to judge what is improving the concept. Controlled variation produces more useful decisions.

  1. Build a Must-Have Shot List

Separate essential shots from optional experiments. The must-have list should cover the campaign’s real delivery needs: perhaps one hero image, two product details, one vertical lifestyle image, and one wider scene with room for text. Optional ideas come afterward. This order matters when time, weather, access, batteries, or people do not cooperate. A shoot that captures the essentials is more valuable than one that spends an hour on an interesting extra while missing the main banner.


Test Visual Directions Before Booking Production

Pre-production is the right stage to compare competing visual ideas because changing direction is still inexpensive. Start with two or three concepts that differ in one meaningful way. A shop launching a summer collection could compare a clean indoor setting, a shaded outdoor scene, and a warmer evening treatment. Keep the product, intended audience, and campaign message constant so the comparison reveals what the setting contributes.

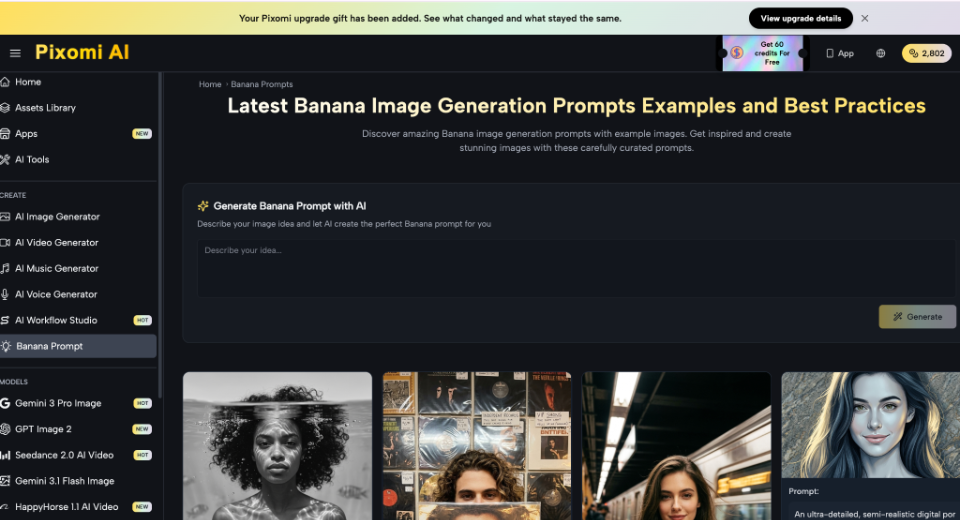
If you already have a usable reference photo, upload it to Nano Banana Pro when you want to test a proposed setting before arranging it physically. Describe the environment, lighting direction, and framing to explore, then review the generated variation against the source. Check the product shape, visible details, proportions, and intended emphasis. If the preview changes something customers rely on, revise or discard it rather than treating the concept as production-ready.

Print or place the strongest previews beside the shot list. They can help communicate where the subject should sit, how much background should be visible, and which props are necessary. Treat them as visual instructions rather than finished truth. Real locations have dimensions, reflections, weather, practical lighting limits, and physical objects that concept images do not have to solve.
How to Plan Campaign Photos Before Spending on a Full Shoot

Know Which Concepts Deserve a Real Shoot

A concept should move into production only when it passes three checks. First, the viewer should understand the main subject quickly. Reduce the image to thumbnail size; if a secondary prop becomes more noticeable than the product or person, simplify the scene. Second, the concept should work in the required crop. Test the horizontal, square, and vertical versions before approving the location or composition.

Third, ask whether the scene is believable for the business. A small neighborhood bakery does not automatically benefit from a luxury hotel-style setting, just as a handmade furniture workshop may lose character in an anonymous futuristic interior. The image should support the position the business can genuinely maintain. A useful test is to imagine a customer arriving after seeing the campaign. If the visual creates an expectation the real place, product, or service cannot support, change the concept before production.

Approval should therefore be based on usefulness, not novelty. Keep a concept when it communicates the intended message, accommodates the required formats, and can be reproduced with the available location, people, products, and budget. Attractive ideas that fail one of those checks can be saved for another campaign instead of forcing the shoot to accommodate them.


Build a Repeatable Pre-Production Habit

Good campaign photography is easier when the difficult decisions happen before the camera comes out. Define the purpose of each image, choose a visual anchor, map the required formats, limit the variables being tested, and protect a short list of must-have shots. Compare a few visual directions while changes are still easy, then approve concepts according to subject visibility, crop flexibility, believability, and production reality. This reduces improvisation without removing room for useful discoveries during the shoot.

After the campaign, keep the brief, shot list, references, final images, and notes about what changed on location. Record which compositions adapted well across channels and which ideas looked better in planning than in practice. That small archive becomes a decision tool for the next project. Instead of beginning every campaign with an empty board, the business can reuse proven planning rules while changing the creative idea. Over time, better photography comes not only from better equipment or bigger productions, but from making more of the important visual decisions before production begins.

epy.com
epy.com
Redactores de elperiodicodeyecla.com escriben con este nombre de autor para otra serie de artículos.

A new campaign often begins with a vague request: “We need fresh photos for the website and social media.” That sounds simple until someone has to choose the location, props, lighting, wardrobe, product arrangement, image orientation, and number of shots. If those decisions are left until the day of the shoot, the team can spend paid production time debating ideas instead of capturing useful material. The result may look polished but still fail to provide the square, vertical, horizontal, detail, and lifestyle images the campaign actually needs.

A better approach is to separate visual planning from final production. Before booking a location or setting up lights, define what each image must communicate and test whether the proposed scene supports that purpose. Mood boards can be too broad because their references come from different products and budgets. When an existing photo needs to be explored in another setting, Nano Banana Pro can be one route for producing reference-based variations. Treat those images as planning material, then judge the direction against the product, location, and channel requirements.

How to Plan Campaign Photos Before Spending on a Full Shoot

Start With the Decision the Image Supports

Every campaign image should help the viewer understand or decide something. A furniture retailer may need one image to show proportions, another to suggest how a piece fits into a room, and a third to announce a seasonal offer. A café might need a menu image, an atmosphere image, and a vertical social post that makes a new drink recognizable immediately. Treating all of these as “brand photos” hides the different jobs they need to perform.

Write a short purpose beside every planned image. Useful statements are specific: “show the texture of the material,” “make the entrance recognizable,” or “leave space for a promotional headline.” If a planned shot cannot be connected to a clear purpose, remove it or redefine it. This prevents the shot list from growing simply because a pose, prop, or location looks attractive.


Turn One Campaign Idea Into a Shot Plan

Once the communication tasks are clear, convert the campaign idea into a production plan. The plan does not need to predict every photograph, but it should settle the choices that are expensive or difficult to change on the day.

  1. Define the Visual Anchor

Choose one element that gives the campaign a recognizable center. It might be the product itself, a person, a particular material, or a location strongly connected to the business. Then decide how that anchor should appear across the set. If the campaign revolves around a new chair collection, for example, the chairs should remain visually dominant even when the setting changes. If background objects repeatedly attract more attention, the scene is working against the campaign.

  1. Map the Required Formats

List where the images will actually appear before deciding the framing. A website banner needs horizontal space, a social story needs vertical composition, and a product card may need a tighter square crop. Mark each required format beside the shot rather than assuming one photograph can be cropped into everything later. Important faces, products, signs, and props should remain inside a safe central area when several crops are expected.

  1. Limit the Scene Variables

Decide which elements may change and which should remain fixed. One campaign might keep the same product, color palette, and lighting direction while changing the room and supporting props. Another might keep the location fixed while changing people and activities. Altering background, lighting, styling, camera angle, and color treatment at the same time makes it difficult to judge what is improving the concept. Controlled variation produces more useful decisions.

  1. Build a Must-Have Shot List

Separate essential shots from optional experiments. The must-have list should cover the campaign’s real delivery needs: perhaps one hero image, two product details, one vertical lifestyle image, and one wider scene with room for text. Optional ideas come afterward. This order matters when time, weather, access, batteries, or people do not cooperate. A shoot that captures the essentials is more valuable than one that spends an hour on an interesting extra while missing the main banner.


Test Visual Directions Before Booking Production

Pre-production is the right stage to compare competing visual ideas because changing direction is still inexpensive. Start with two or three concepts that differ in one meaningful way. A shop launching a summer collection could compare a clean indoor setting, a shaded outdoor scene, and a warmer evening treatment. Keep the product, intended audience, and campaign message constant so the comparison reveals what the setting contributes.

If you already have a usable reference photo, upload it to Nano Banana Pro when you want to test a proposed setting before arranging it physically. Describe the environment, lighting direction, and framing to explore, then review the generated variation against the source. Check the product shape, visible details, proportions, and intended emphasis. If the preview changes something customers rely on, revise or discard it rather than treating the concept as production-ready.

Print or place the strongest previews beside the shot list. They can help communicate where the subject should sit, how much background should be visible, and which props are necessary. Treat them as visual instructions rather than finished truth. Real locations have dimensions, reflections, weather, practical lighting limits, and physical objects that concept images do not have to solve.

How to Plan Campaign Photos Before Spending on a Full Shoot

Know Which Concepts Deserve a Real Shoot

A concept should move into production only when it passes three checks. First, the viewer should understand the main subject quickly. Reduce the image to thumbnail size; if a secondary prop becomes more noticeable than the product or person, simplify the scene. Second, the concept should work in the required crop. Test the horizontal, square, and vertical versions before approving the location or composition.

Third, ask whether the scene is believable for the business. A small neighborhood bakery does not automatically benefit from a luxury hotel-style setting, just as a handmade furniture workshop may lose character in an anonymous futuristic interior. The image should support the position the business can genuinely maintain. A useful test is to imagine a customer arriving after seeing the campaign. If the visual creates an expectation the real place, product, or service cannot support, change the concept before production.

Approval should therefore be based on usefulness, not novelty. Keep a concept when it communicates the intended message, accommodates the required formats, and can be reproduced with the available location, people, products, and budget. Attractive ideas that fail one of those checks can be saved for another campaign instead of forcing the shoot to accommodate them.


Build a Repeatable Pre-Production Habit

Good campaign photography is easier when the difficult decisions happen before the camera comes out. Define the purpose of each image, choose a visual anchor, map the required formats, limit the variables being tested, and protect a short list of must-have shots. Compare a few visual directions while changes are still easy, then approve concepts according to subject visibility, crop flexibility, believability, and production reality. This reduces improvisation without removing room for useful discoveries during the shoot.

After the campaign, keep the brief, shot list, references, final images, and notes about what changed on location. Record which compositions adapted well across channels and which ideas looked better in planning than in practice. That small archive becomes a decision tool for the next project. Instead of beginning every campaign with an empty board, the business can reuse proven planning rules while changing the creative idea. Over time, better photography comes not only from better equipment or bigger productions, but from making more of the important visual decisions before production begins.

epy.com
epy.com
Redactores de elperiodicodeyecla.com escriben con este nombre de autor para otra serie de artículos.
uscríbete EPY

¿Quieres añadir un nuevo comentario?

Hazte EPY Premium, es gratuito.

Hazte Premium

1 COMENTARIO

epy.com
epy.com
Redactores de elperiodicodeyecla.com escriben con este nombre de autor para otra serie de artículos.
- Publicidad -spot_imgspot_imgspot_imgspot_img
- Publicidad -spot_img

Servicios

Demanda empleo Oferta empleo
Compra Venta
Canal inmobiliario Farmacia
Teléfono interes Autobuses